
Have a frayed or broken garage door cable that renders it into a fancy-looking wall? Replacing your garage door cable is a multi-step process that requires a few tools. But before we can get to that, we should first look at some of the safety concerns. Calgary Garage Door Fix, which does garage door repair in SW Calgary, has shared some of the most important things to be aware of before starting this task.
What Are Some Safety Concerns with Garage Doors?
Needless to say, garage doors can be remarkably unsafe, especially if you are trying to repair one. They are full of all sorts of parts that can cut, crush, maim and even kill if not handled with the utmost caution. Because of this, it is highly recommended to follow some safety procedures.
The danger surrounding garage doors actually has to do with the cable and torsion springs, as these parts are often under considerable tension. When they break or are not handled properly, these pieces can release all that tension at once. If you are unfortunately in the way, this can result in tremendous injury.
As with most repair jobs around the house, you want to be outfitted with the right safety equipment, specifically a pair of safety glasses. Make sure to also unplug the garage door opener while also disengaging the opener from the door completely.
What Is the Process to Replace the Cable?
While not necessarily an especially difficult job, there are quite a few tools you’re going to need in order to replace the cable, such as a metal winding bar, a pair of locking pliers, a ladder, a file, a multitude of sockets, and plenty of wrenches.
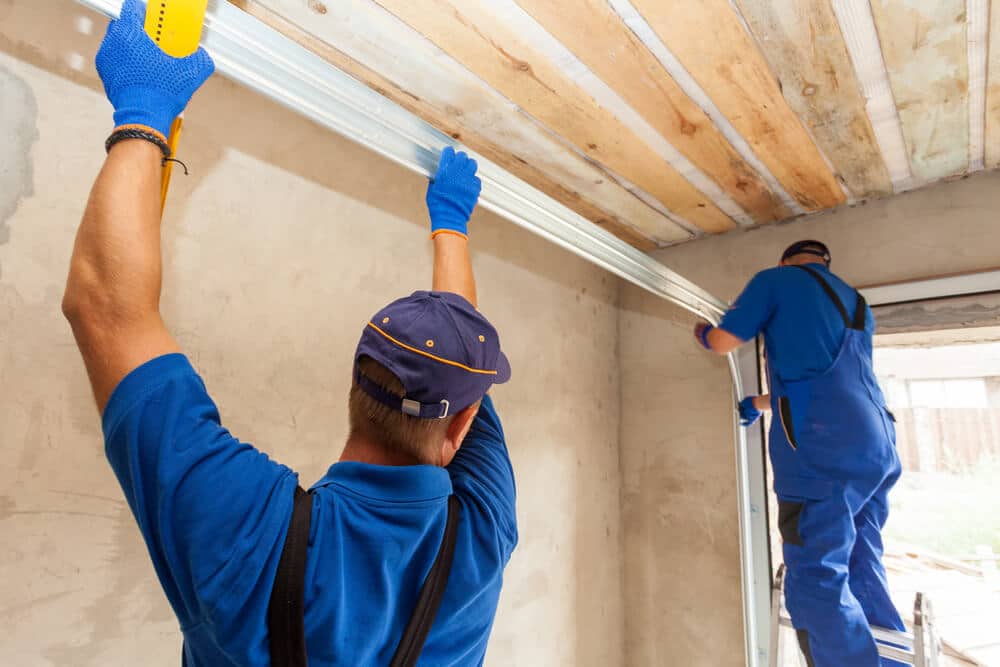
To start, you’ll need to disconnect the arm from the opener. Openers and garage doors can vary quite a bit, but the mechanism that removes the arm from the door is fairly straightforward. Using the ladder, go up to the garage door and merely unscrew the bracket arm from the arm of the opener. This can typically be done by hand.
Lock the garage door in place and put vice grips above the middle roller on the track. This will make sure that the door doesn’t open while you are working. You’re also going to start removing the tension on the winding cone using the winding bar.
To remove the cable, you will first need to remove the cable drum. Do this by using one of your wrenches to loosen the set screws. From here, just slide the drum away from the end, then take your time to remove the cable from the drum.
Brackets around the bottom of the garage should be replaced as well. The reason for this is that you want continuity in the entire garage. Old brackets mixed with a new cable can result in further repairs down the road. Locate the brackets on the bottom of the garage door and unhinge them by removing the lag bolt. From here, remove the fasteners that are keeping the bracket in place, then just slide the track a little bit to the side and remove the bracket.
Next, attach the cable to the bracket before you attach it back to the garage door. Once this is ready, thread the cables through the holes on the side of the track. Once this is done, you may then reinstall the bracket on the bottom of the door.
You should take special care to put the track back into the location it originally was, as a track that is misaligned will cause the door to not move properly. Once you have this done, it’s time to move back onto the ladder and look at that loose cable drum.
Make sure to set the cable into the proper grooves of the cable drum. If properly aligned, it should flow through the wheel. Then set the cable drum next to the edge and tighten the set screws, making sure not to overtighten them.
After you attach some vice grips next to the drum that is leaned up against the wall, you can then start tightening the torsion spring back to its original tension. Do this with clockwise quarter turns with the metal winding bars.
Final Steps
After you remove the makeshift clamps of pliers from the sides and cable drum, you should attempt to lift the door slowly. If you feel that the door is especially heavy or has too much resistance, merely reclamp the door and see if any parts need to be adjusted.
It is recommended to also spend some time replacing your torsion springs too, as they have a tendency to go bad around the same time that the cable does. Replacing your garage door cable is a little bit complicated, but as long as you follow a certain order everything should be fine.